Showing posts with label Cake. Show all posts

Saturday, 11 August 2012

Saturday Night Lemonade Meringue Cupcakes

I'm not going to pretend that my life is non stop parties and excitement. In fact it is almost the exact opposite, I'm a homebody. I love a night out with friends and family but most weekends you'll find me at home, particularly on stormy, cold miserable nights like tonight. To make my life even more exciting than usual this weekend I am dog sitting, so I am spending my night alone with six precious dogs. So what does one do on such a Saturday night you ask? Bake of course. This is an idea I have been toying with for a while now, so after surfing the web and reading several recipes I put together this recipe and tested it tonight and can I just say it is just as tasty as I thought it would be. So being the nice person I am I thought I would share it with you.

Lemonade Meringue Cupcakes

Ingredients

Cupcakes

100g butter, softened
1 cup caster sugar
2 tsp finely grated lemonade rind
2 eggs
1 1/2 cups self-raising flour
1/2 cup milk

Lemon Curd

1 egg, lightly whisked
50g butter
1/4 cup lemonade juice
1/2 cup caster sugar

Meringue

3 eggwhites
3/4 cup caster sugar

N.B. Lemonade's are very similar to lemons but sweeter. If you can't get any or would rather use lemons just substitute them in.

Method

Preheat oven to 180°C. Line muffin or cupcake tray (it's up to you) with cases. You should get about 12 muffins or 20 cupcakes (I made cupcakes today).

Use an electric mixer to beat the butter, sugar and lemon rind until pale and creamy. Add eggs, one at a time, beating well between each addition. Add the flour and milk, in alternate batches, and mix until combined.

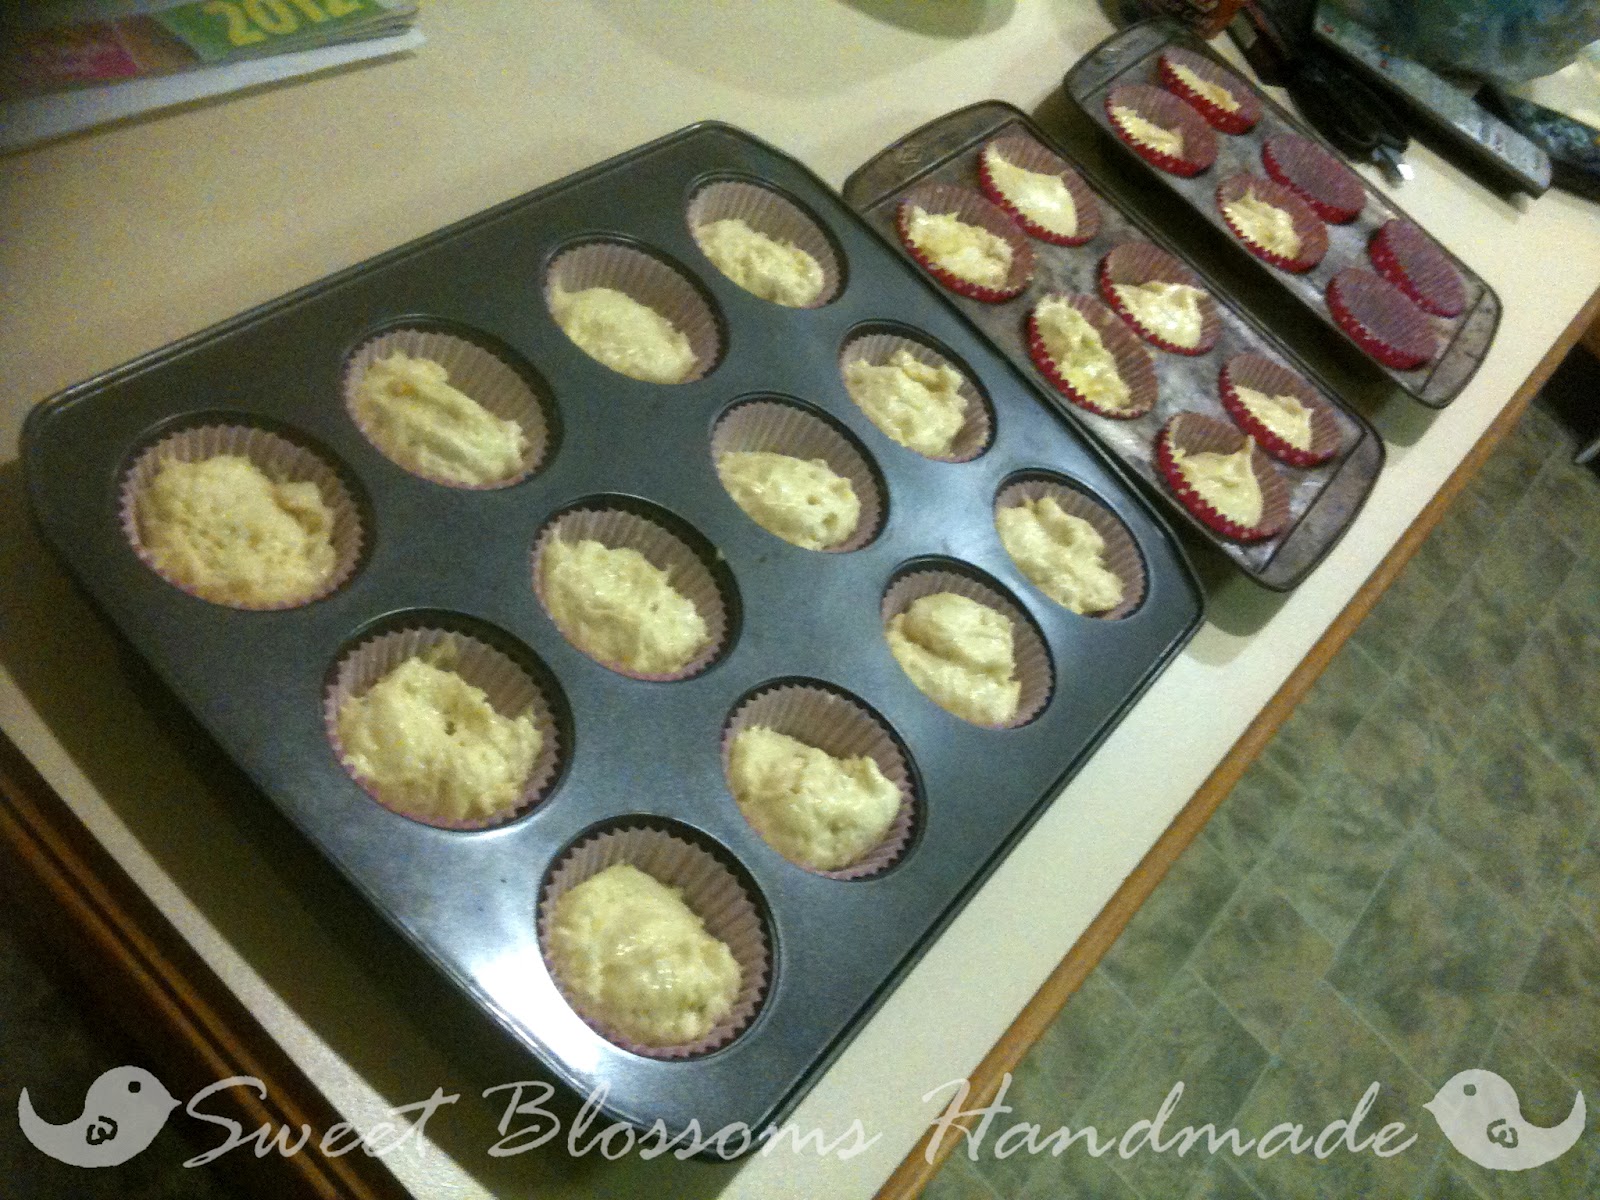
Spoon mixture evenly among the lined pans. Bake in preheated oven for 15-20 minutes or until cooked through. Remove from oven and transfer to a wire rack to cool completely. 


Meanwhile, to make the lemon curd, combine the egg, butter, juice and sugar in a small saucepan over low heat. Cook, stirring, for 5 minutes or until mixture boils and thickens. Remove from heat. Transfer into a new dish, cover top and place in the fridge to cool and thicken.

Use a small knife to cut a triangle or circle into the top of each cake. You can discard the cake you cut out, save it for some thing else (like cake truffles) or if you are like me you can eat it, naughty I know!

Spoon the lemon curd evenly among cupcakes.


Place eggwhites in a clean, dry bowl. Use an electric mixer to whisk until firm peaks form. Gradually add the sugar, beating well between each addition. Continue beating for 2-3 minutes or until sugar completely dissolves. Spoon or pipe meringue on top of each cake enclosing the filling. Transfer cupcakes to an oven tray; place under a preheated grill until lightly golden (or if you have a butane torch you could brown them with that).


Now all that is left is to enjoy! I ate one just to test them but the rest are packed ready for morning tea with friends tomorrow. Now just to hope they last through the night and everyone enjoys them tomorrow!

So tell me what is your favourite cupcake?

Wednesday, 2 November 2011

Rainbow Cake


Now I'm not usually one to jump on the bandwagon (ok so I've gone a little Keep Calm poster crazy of late, and I'm a huge Harry Potter & Twilight fan but I fought those crazes for ages, I swear!). But seriously, Rainbow cakes? How could I resist? I am well & truly obsessed. I mean what's not to love. They taste great, they look great & that moment of 'WOW' when you cut it open is so worth all the hard work & mess that went into making it.

I've been asked several times for the recipe for my rainbow cake, so here goes. I personally make my own cake batter from scratch using the butter cake recipe from the Women's Weekly Birthday Cake book but you can also use the 69c packets from Woolworths or Coles (or any vanilla or butter cake I guess). I made a double batch of this recipe & used about 3/4 of it.

Ingredients
125g Butter
1/2 teaspoon vanilla
1/2 cup castor sugar
2 eggs
1 1/2 cups self-raising flour
1/3 cup milk
Food colouring (I used the individual 99c bottles from Woolworths or Coles)

Method

Make sure butter is at room temperature (if it's not your life will be hell, trust me, I learnt this the hard way!). Beat butter with vanilla until light and fluffy; add eggs one at a time, beating well after each addition.
Stir in half the sifted flour with half the milk, stir until combined.
Add the remaining milk and flour, stir in lightly, then beat lightly until mixture is smooth.

Now you have to decide how many colours/layers you want in you cake. I baked 6 layers (red, orange, yellow, green, blue, purple) but you can have as many or as few as you like. When you have decided how many layers you need, evenly divide the batter into separate bowls. Add a dash of food colouring to each bowl and mix until you reach your desired colour. I found that my purple came out too dark, so be careful when adding your colouring!


Now you need to grease & flour you cake tin. Pour the first lot of batter into tin, smooth it evenly & bake until it springs back when lightly touched or skewer comes out clean. Let the cake cool in tin for a few minutes, then turn out onto cooling rack. Wipe out tin, then re-grease & flour. Repeat until all layers are baked. While the cakes are cooling you can make the icing, I used white chocolate cream cheese icing but you can also using buttercream icing.

Icing
455g cream cheese (not the low fat stuff)
170g white chocolate
10 tbsp. butter, softened
3 cups of icing sugar

Beat the cream cheese until soft & smooth. Add butter and icing sugar and continue beating until smooth. Melt white chocolate and add to cream cheese mixture.

Once the cakes have cooled, level the tops if needed. Now is the fun part (haha). Decide what order you want your layers to go in, then just start stacking them, with a thin layer of icing in between. Make sure you try to line the layers up neatly (otherwise you end up with the leaning tower of cakes, once again trust me I know!). When all the cakes are stacked you can ice the outside of the cake, you should probably start with a crumb coat, then I final layer, but I was naughty and just iced it all in one go (Shhhhh don't tell anyone!). Once that is done you can decorate it with sprinkles, or M&Ms or leave it plain, whatever takes you fancy!

Last but not least, cut & enjoy. Trust me the WOW factor is so worth it!